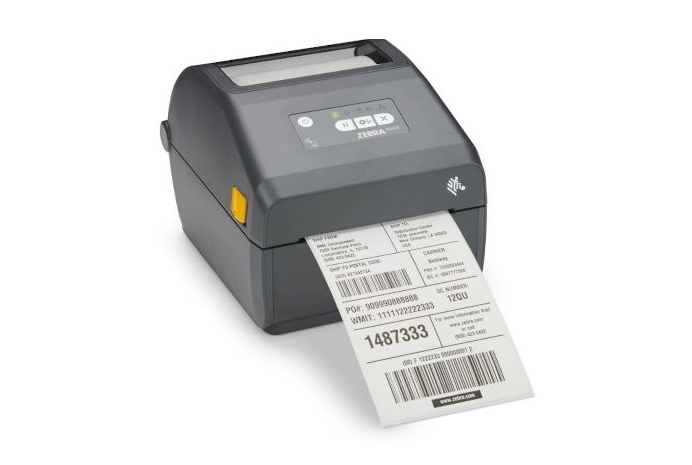
How To Print Shipping Labels (4"x6") For Packages For Your Business
- By LabelValue Team
- Dec 19, 2023
Shipping labels are an essential part of the logistics process, whether you're a business owner sending out products to customers or an individual shipping a package to a friend or family member. A well-prepared shipping label ensures that your package reaches its destination accurately and efficiently.
Before you start creating your shipping label, it's important to have all the necessary information at hand. Here's the shipping information you will need:
- Sender Information: Your name, address, phone number, and email.
- Recipient Information: The recipient's name, address, phone number, and email.
- Package Details: This includes the weight, dimensions, and a description of the contents.
- Shipping Method: Decide on the shipping method and carrier you want to use, and have the appropriate service details.
Usually, this information is all saved into your company's CRM, and this data is pulled from the CRM into the shipping label. Once you have the information above, open your label printing software.
1. Open The Label Design Software:
The following steps are good for Dymo and Zebra label printers. It can also work for other branded direct thermal label printers.
- A very popular option is to use a dedicated shipping label software like UPS Worldship, or FedEx Ship Manager.
- or you can use a 3rd party label printing software.
- Learn how to mass print address labels in Excel with a Dymo label printer. or
- Learn How to make labels in Microsoft Word,
2. Design Your Shipping Label:
- In your label design software choose an existing template for 4"x6" shipping labels. Input the required shipping information such as the name, address, return address, and tracking barcode for the package details.

