 Save 10% off your first LabelValue order |
 How Do I Get My Dymo Printer to Install on Mac OS X or Windows?
- Apr 11, 2016
Q: How can I get my Dymo label printer to install on Mac OS X and Windows?
A: So you've ordered your Dymo LabelWriter printer for your home or office. You made a great choice and are going to save tons of time and money. Before you can redefine efficiency and productivity though, you have to get your printer installed correctly on your Mac or Windows computer.
Just follow these instructions to get everything installed correctly:
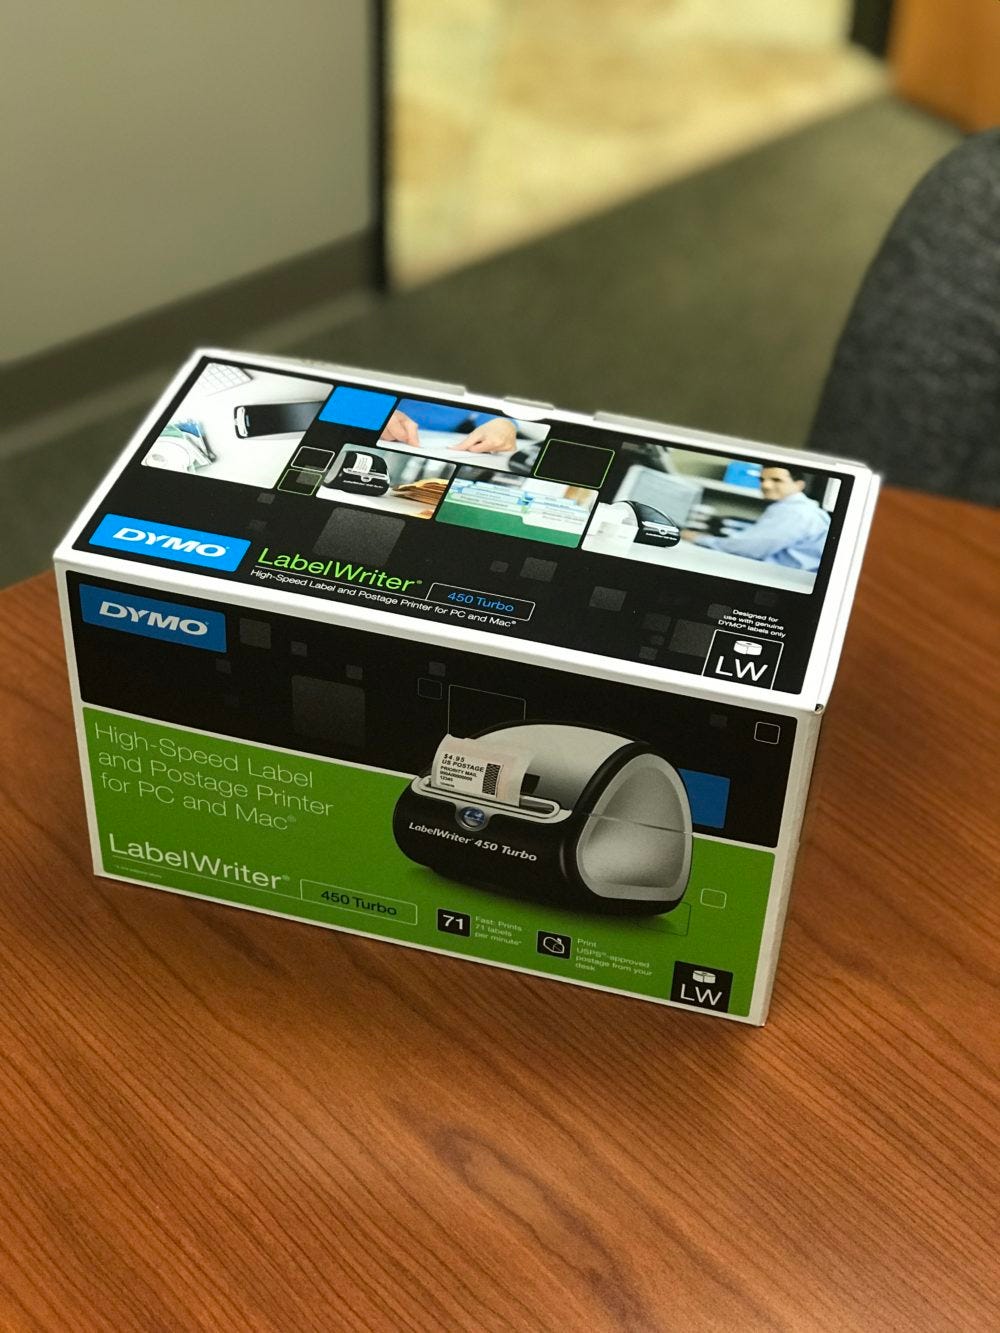
Step 1: Before we begin installing the printer on your Mac or PC, you should open the box and make sure all of the necessary parts have been included.
1: For this step-by-step we will be using a Dymo 450 Turbo.
However, all Dymo LabelWriters will come with similar parts.

2: Open the box and you should see the Dymo Quick Start Guide. This will have contact information, as well as some helpful information about your new LabelWriter.
3: Beneath the Quick Start Guide you should find two starter rolls of labels, a USB cord to connect your printer to your computer, and a power cord.[/caption]
4: An important note from Dymo. Be sure to install your Dymo software completely before plugging your printer into your computer.[/caption]
5: Within the white box, you will find your power adapter, needed to connect your printer to a power source.
6: Finally, remove all packaging material from your Dymo LabelWriter and set aside.
Step 2: Install the required software for either your Mac or Windows PC
Don't use the disc that came with your printer, as this software is probably out of date. Dymo updates their software frequently. Instead, use the link below to visit Dymo's website to download the latest Dymo Software for your printer.
Download the driver/software for your Dymo label by selecting the type of computer.
Download Dymo Printer Driver & Software Here
Already installed the old version? No worries. Simply uninstall that version and then install the latest from the link above.
After a few seconds, the installation screen appears.

3.Once the installer popups up, select your desired installation language.

4. Click install to begin the installation process.[/caption]
5. Click "Next" to continue installation on windows.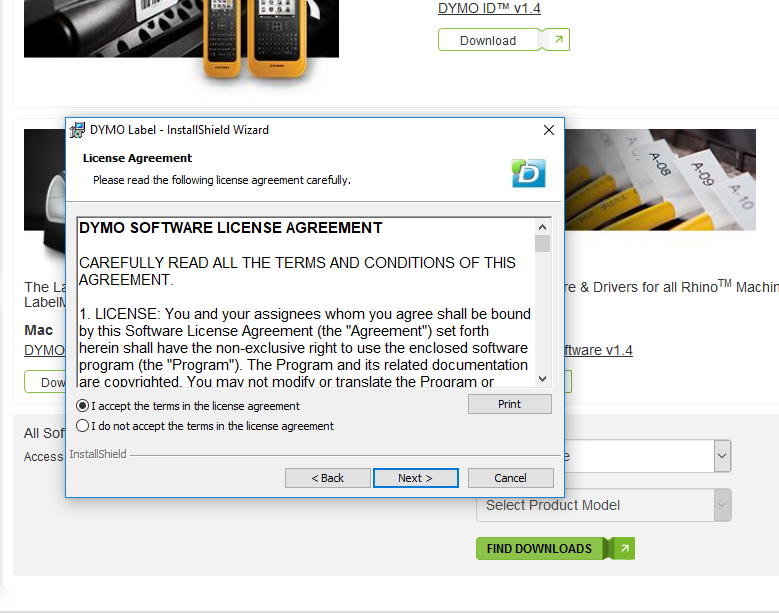
6. Read over the user agreement and accept the terms if you agree. Click Next.
7. Either use the default location or select your own destination folder. Click "Next" when ready to continue installation.
8. Select whether you would like a complete or custom installation and click "Next".
9. When ready Click "Install" to begin your installation.
10. Your installation will begin. It may take several minutes to complete.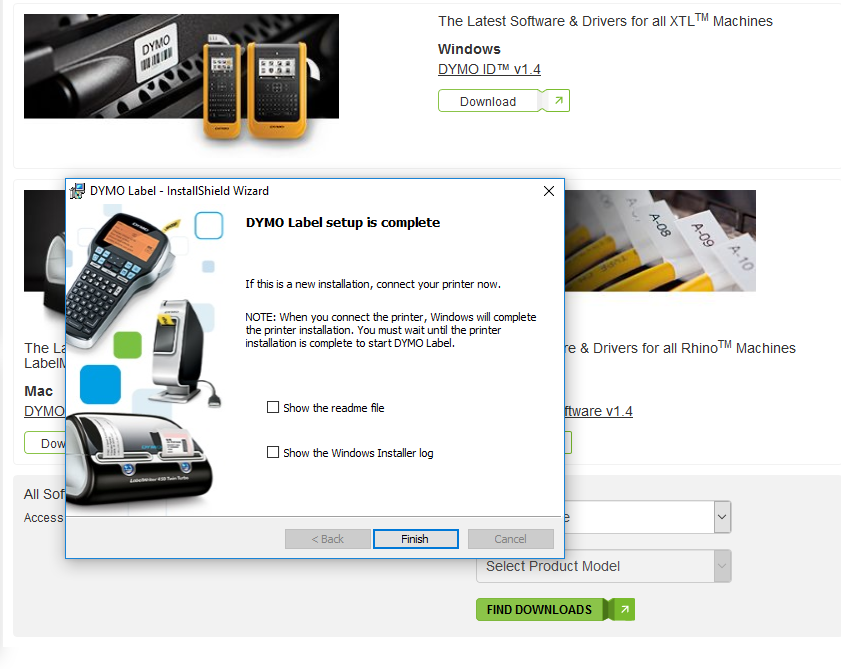
11. When the installation is complete this screen will appear. The software has been successfully installed. Once the installation is complete, continue to Step 3 of this guide to finish the installation by connecting your printer to a power source and your computer.
2.Double-click the Installer icon and follow the instructions. The Dymo software will guide you through the entire install for your Mac.
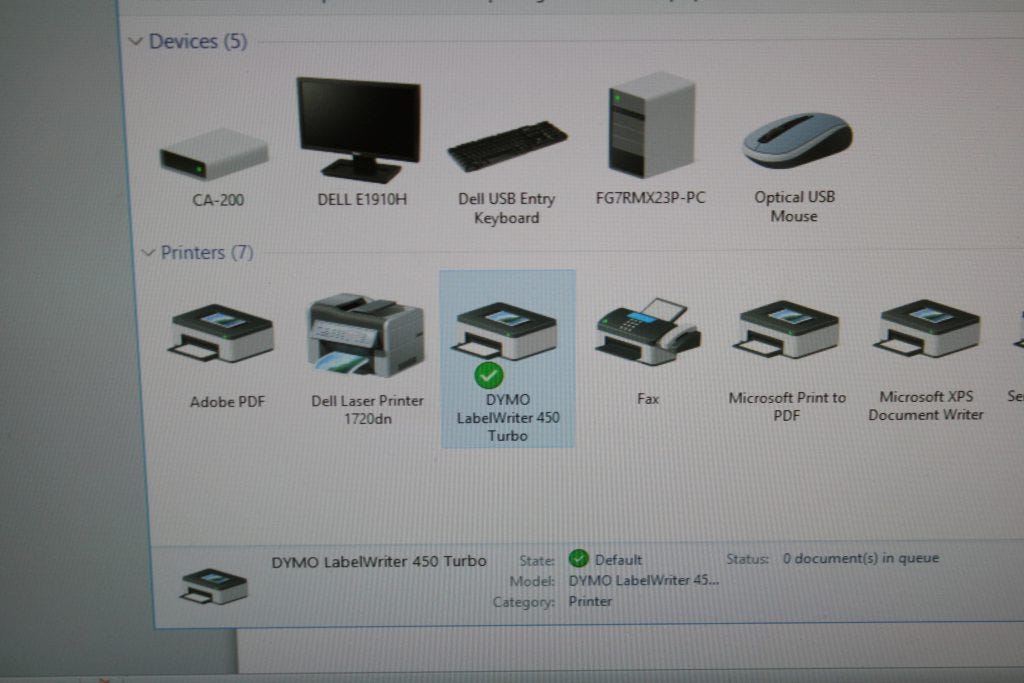
This is what you should see after successfully connecting and installing.
2. Open the DYMO Label software from your Applications folder.

Once the installation is complete, connect your printer to a power supply and your computer by following step 3 of this guide. Then you will be ready to test print.
Step 3: Connect your LabelWriter printer to your computer:

1. Plug the supplied power cord into your Dymo's power adapter.
2. Now, plug the power cord into a power outlet in your home or business. You will see a green light illuminate on your power adapter once it is plugged into a power source.
3. Inspect the bottom of your Dymo printer. Here you will find both the power and USB connectors for your printer.
4. Plug the power adapter into the power connector on the bottom of the printer.
5. Now connect the supplied USB cable to the port on the bottom of your Dymo Printer.
6. Plug the other end of the USB cable you just connected to your Dymo printer, into an available USB port on your computer.
7. Insert the power and USB cables through the cable channel located at the back of the printer and set the printer down. Your printer should sit level, with both cables exiting out of the back of the printer, as shown.
8. If connected correctly to a power source, you should see the blue light illuminate on the front of your Dymo printer.
Step 4: Print your labels (& restock!)
Once you've opened your software and have connected your printer to your computer, select the label size that you have loaded in your LabelWriter printer. Enter text on the label and select Print. If your label doesn't print, make sure that you have the printer connected to the USB port of your computer and verify that the printer is plugged in.
As you might have noticed, the starter pack of labels that come with most Dymo Printers does not include very many. When you're ready for more labels, give ours a try. Our Dymo compatible labels are made from the highest quality materials, and are guaranteed to work in your printer. You get a lot more label for less than you would pay for Dymo manufactured labels. We always offer free shipping on all orders, + use the promo code SAVE5 to get $5 off your first order of $50 or more on all LabelValue brand products.
Shop Dymo Compatible Labels From LabelValue
If you're having any other issues connecting, setting up, installing, or printing from your Dymo LabelWriter printer, please give our friendly support staff a call at 800-750-7764, Mon-Fri. 8am-6:30pm EST or email us at service@labelvalue.com or chat using the "Chat With A Label Expert" button below. If you have a detailed software or hardware question or concern, contact DYMO directly here.
Note: If your system prompts you to register your product, you can do so here.