Troubleshooting Guide For Dymo LabelWriter Printers
3-10-2021 WINDOWS SOFTWARE UPDATE ISSUES: Please note that the latest Windows update is causing known issues with the DYMO Label Software printing blank labels. You can read about the current fixes and workarounds for this issue here.
And while you're waiting to download version 8.5.4, be sure to check out our selection of Dymo LabelWriter Labels, with custom sizes, shapes, colors and materials to fit any specialty labeling need you may have.
 When it comes to buying label printers for your home or office, good just isn’t good enough. That’s why Dymo LabelWriters have become renowned as the industry standard. To own, or have used one, is to understand them as efficient, reliable, and easy-to-use machines.
However, no machine is perfect. So, with respect to the off-chance that your Dymo LabelWriter is not working, we wrote the following Dymo LabelWriter troubleshooting guide. We’ll cover the following:
- How To Set-Up Your Dymo LabelWriter
- My Dymo LabelWriter Is Printing Blank Labels
- How To Fix Label Jams
- Dymo LabelWriter Maintenance
How to Set Up Your Dymo LabelWriter
 First, you’ll want to make sure all the necessary materials are in your box. Aside from the LabelWriter printer, there should be a USB cable, CD-ROM, cleaning card and roll of Dymo stamp labels.
Sift around the rest of the contents, and you’ll find a roll of Dymo address labels, a quick start guide, power adapter and power cord.
Once you've verified you have everything, grab the CD-ROM, insert it into your computer and, in a few seconds, when the installation window appears, click “Install.” Instructions will then appear on the screen. Don’t worry, they’ll be easy to follow.
If you have a Mac OS system, fret not. You’ll double click the installer icon and follow a near-identical procedure.
Once you’ve plugged the power cord into an outlet, you’ll want to connect one end of the USB to the device, and the other end to your computer. The software shouldn’t take too long to complete its installation.
That's all there is to it. Your Dymo Labelwriter should be up and running now and you can begin printing labels.
Okay, you’ve gotten the installation out the way, but now your Dymo Labelwriter is printing blanks. What do you do?

(Read the full article for step-by-step directions for installing or setting up your Dymo LabelWriter.)
How Do I Stop My Dymo Printer from Printing Blank Labels?

3-10-2021 WINDOWS SOFTWARE UPDATE ISSUES: Please note that the latest Windows update is causing known issues with the DYMO Label Software printing blank labels. You can read about the current fixes and workarounds for this issue here.
If your Dymo is printing blank labels, you’ll need to first determine why. There is a gray button below the slot where the labels are dispensed - press this button and one label should dispense.
If the Labelwriter proves capable of producing only one label then there is an issue with the information you have entered.
If the machine produces more than one blank label sheet, read on.

The printing of blank labels is often caused by a dirty sensor. See, labelwriters such as these operate by using thermal printing techniques. Essentially, they scan the label paper for those chemically-treated areas that darken as heat is applied.
If the sensor is dirty, the scanner will be ill-equipped to identify those heat-sensitive areas. The labels, as a result, will come out blank.
Another Dymo LabelWriter troubleshooting option you may want to consider is an examination of the cables, connections, spools and rollers. If there are any issues with these components, it’ll likely be due to debris or a build up of adhesive-glue. If you’ve already checked the sensor, try cleaning each of these component pieces individually.
To clean them use a lint-free cloth, with either isopropyl alcohol, watered down dishwashing liquid, or ammonia-free diluted glass cleaner. If the aforementioned Dymo LabelWriter troubleshooting prospects fail to correct the problem, focus your attention on the labels themselves. You should, for instance, check to make sure the label is not upside down.
Remember that one side of the label is chemically treated and designed to darken when exposed to heat. This allows the desired information to appear on the label. The back of the label, on the other hand, is equipped with an adhesive to allow the label to stick onto the surfaces and a liner. When the label is inserted upside down, both sides of the label are prevented from performing their function.

Make sure that the roll is fitted correctly and securely onto the spindle. It must also be positioned to the far left, beneath the scanner. Otherwise, the scanner will not read it. Next, you’ll want to make sure that the printer cover is completely closed.
Oh, and heads up, if you are using labels that are too old, damaged or of poor quality, the scanner will not be able to read them.
Next, let’s delve into possible software and driver issues. Now, you may be alerted to the possibility of a software issue if the printer produces only one sheet at a time.
There may be a few reasons as to why this is happening. For starters, check the margins and print settings, they may have been entered incorrectly.
Another common mistake that people make when setting up their Dymo Labelwriter is installing the wrong driver. Installing the wrong driver can lead to incorrect printing information. If these steps do not remedy the situation, try uninstalling the software, and then reinstalling it, and then resetting the printer. If the problems continue beyond this point, you’ll want to check if the product is under Dymo’s warranty.

Now let’s discuss label jams. It’s not the name of our new mixtape, though it probably should be.
No, label jams are frustrating, especially if you haven’t a clue as to how to fix them. So why do label jams occur?
A label jam may occur as a result of exposed adhesive. If the adhesive cover is damaged, the labels may end up sticking to the printer drive causing it to back up.
If you want to fix a jammed label printer, consider doing the following. First, you’ll want to unplug the device. Open the Dymo cover, and remove the spool. Remove any labels lodged in the dispenser. There should be a piece with the word Dymo written on it. That is the faceplate. Take it off, and place it to the side for safekeeping.
You should find, in the space that the faceplate was covering, a paper release lever. This lever will allow you to separate the print head from the feed.
Try using a straightened paper clip to dislodge the paper from the feed. Please be gentle when doing so, so as not to damage your label printer. If pieces remain, grab some plastic tweezers, and try gently loosening the label. With the label free, insert the Dymo Cleaning Card.
You’ll want to feed the card through the printer about ten times. This way you’ll remove all the glue residue that was impeding the movement of the label through the machine. After feeding the card through the printer ten times, plug the printer back in. Put the faceplate back in its original position and reinsert the spool and labels. After this, you should be good to go.
Remember, though, an ounce of prevention is worth a pound of cure. So, let’s explore ways in which to circumvent these issues.
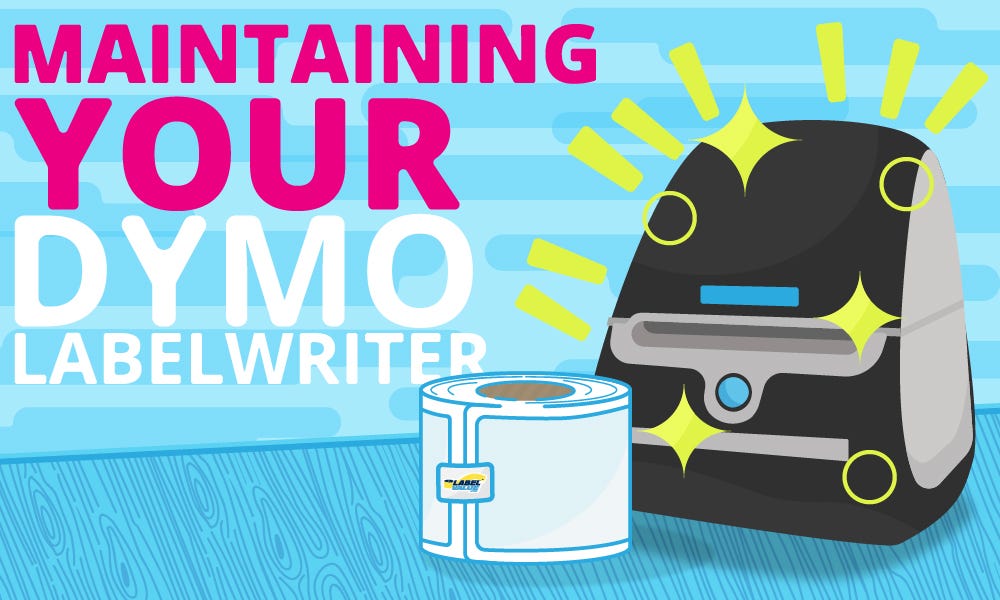
How to Maintain your Dymo LabelWriter Printer
 Remember, though, an ounce of prevention is worth a pound of cure. So, let’s explore ways in which to circumvent these issues.
For starters, do your best to prevent the exposure of label adhesives. The Dymo LabelWriter is built for the long-distance ride. Don’t believe it? Well, consider that it is capable of producing 2 million inches of thermal labels. Or 500,000 standard address labels. You could literally print 20 address labels every single day, and it’d still take about 70 years for your printer to run out of juice.
Of course, this is only possible if the Dymo LabelWriter is properly taken care of. To keep your Dymo LabelWriter in tip-top shape, do the following: Religiously employ that cleaning card. The Dymo cleaning card is designed to clean out the interior of your LabelWriter. It can and will remove debris from both printhead and plantar.
According to Dymo, you should use the cleaning card at least once or twice every month. The amount of times you use the cleaning card, though, should be dependent on the frequency with which you use your printer. Frequent use and, or, diminished print quality, should prompt you to use the card more often.
Be careful when inserting the labels into the printer. Again, you’ll want to make sure that none of the label’s adhesive is exposed. As stated before, these adhesives, when acquainted with the inner workings of the machine, can cause gunk to build up. Worse, the labels themselves can fix onto the inner mechanisms. Now, the machine doesn’t work and you're out of a label.
Avoid, at all costs, using metal to fix any label jams. (Aside from the aforementioned paperclip.) Metal equipment can cause irreparable damage to the interior of the printer. Instead, use plastic tweezers, or Q-tips. WD-40 can also be used as a degreasing agent.
Dymo LabelWriters make for a wonderful addition to the office. They are meant, however, for smaller volume uses. It is not really suited to print out thousands of labels a day. If this, however, is your need consider picking up a Zebra printer or Cognitive printer. Also, always use quality labels. Unfortunately, not all labels are created equal. Here at LabelValue, we pride ourselves on our ability to provide customers with labels and labelwriters of the highest quality. At LabelValue you are guaranteed to receive only label materials of the highest quality.
 Also, always use quality labels. Unfortunately, not all labels are created equal. Here at LabelValue, we pride ourselves on our ability to provide customers with labels and labelwriters of the highest quality. At LabelValue you are guaranteed to receive only label materials of the highest quality.